One particular element that will make your podcast stand out from the crowd, is ensuring your audio sounds great. Being able to capture clean audio on remote recordings is a sure fire way to get your audience to take you seriously. If your audio is low quality you will sound amateurish , making it difficult for your listeners to trust your content. No one is going to buy into you or your show if you don’t put the effort into presenting your audio professionally.
Getting your voice to sound close, speaking with authority and gravitas, and capturing the bass in your voice will all work together to create a top quality recording. I’m going to take you through a few tips to help you achieve that perfect podcast sound.
Create the best recording environment you can
The top priority for your podcast recording is the room or space you choose to record in. The first thing to combat is any echo you might be getting in your environment. To reduce the sound reflection in your space, try to minimise the number of flat surfaces that the audio is able to bounce off of. You can do this by incorporating soft furnishings, such as sofas and rugs, and by utilising angles from items such as bookshelves, that will help to break up the flat wall space. Many professional voiceover artists will use blankets and cushions to absorb the sound of their voice whilst they are recording and therefore reduce the echo.
Being able to create a clean acoustic sound in your recording space is akin to creating great lighting for a photoshoot. Good lighting can be used to make up for a lower quality camera in the same way that setting up an ideal recording environment can boost the quality of a lower-end microphone. For example, we once set up a podcast studio in the basement of a flat to record a podcast called ‘The Eggchasers Rugby Podcast’ – we bought loads of acoustic foam and used staple guns to line the walls. On the first recording, we set them up with professional microphones but at the end of the session we realised that the sound had been recorded through the MacBook speakers. On the listen back we could barely tell that we’d made this mistake which is testament to the effect that putting the time and money into building a good quality room will have on your sound quality.
It is important to be able to adapt, as you will often find that you are unable to control your environment, particularly if it is a shared space. I am currently going through the process of having building work carried out in my home, meaning that I have had to move out of my home recording studio which has lots of non-reflective surfaces and walls covered with acoustic foam.l I have had to set up a makeshift studio in my bedroom for the time being and I very quickly discovered that, due to the high, victorian ceilings, every room has an echo to it. To solve this issue, I purchased some acoustic blankets which are designed to absorb and dampen the sound. I bought three backdrop stands, usually used by photographers, and hung the blankets to create a small recording booth roughly two metres by two metres – just enough room for myself and the recording equipment I need. This works really, really well and produces a sound quality not massively different from what you would be able to achieve in a studio setting.
Another trick you can use is to create a sound dampening shield around the microphone itself. We’ve found that a great DIY hack for this, is to buy a little box from somewhere like IKEA and fill it with scarves or other soft materials. However, these may not work if you are filming your podcast as they won’t look the part. In this case you may want to opt for a cleaner option such as the sound dampening wall panels.
If you’ve employed these tips and are still struggling with background noise from your space, you can give the listener some context by mentioning in your introduction that you are recording from your office or that you are recording on location. As long as your audio isn’t breaking up and doesn’t sound too thin or tinny, background noise can actually create some natural ambience. It’s only when the amount of noise is disruptive to the audio, that it becomes a serious problem.
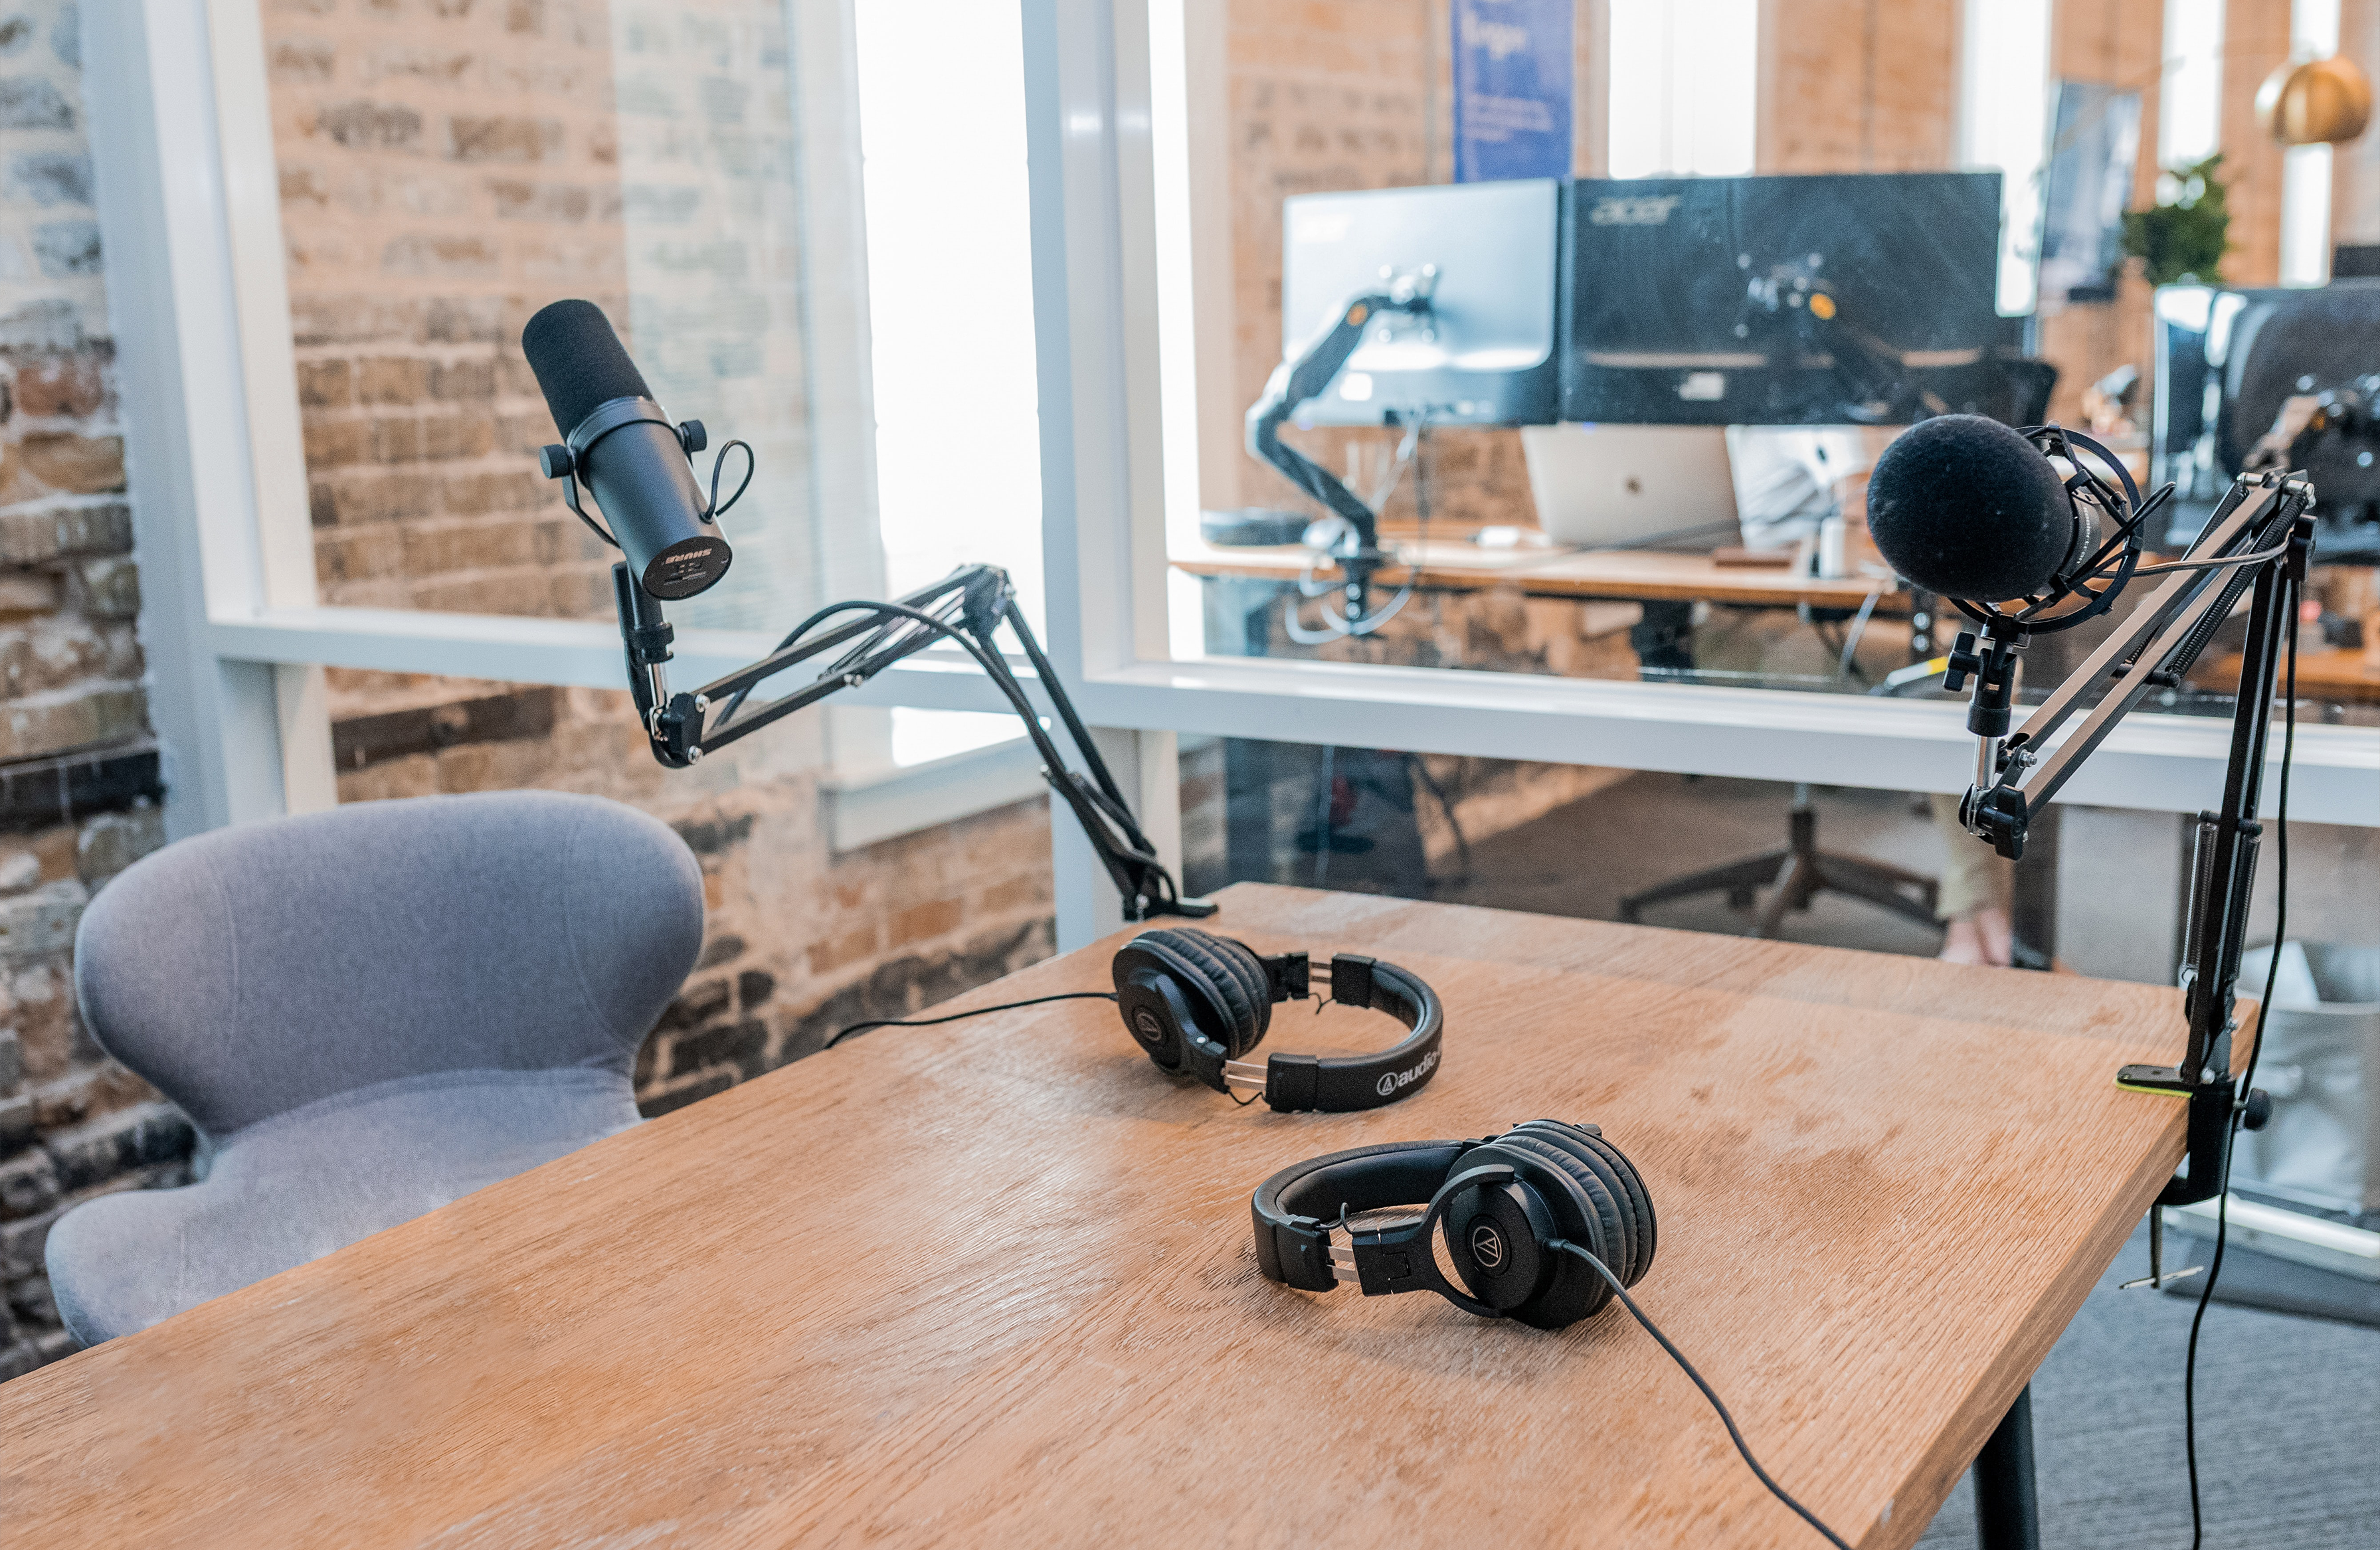
Use a decent microphone and headphones
Don’t be fooled, creating a perfect recording environment doesn’t mean that you should compromise on the quality of your microphone. The combination of a great microphone and a great sounding room will ensure your voice comes across at the best quality you can achieve. The Samsung Q2U microphone is a personal favourite of ours, as it is still capable of capturing high quality audio when you’re unable to be as accurate as you’d like to be with your mic direction. It really comes into its own when recording in larger rooms. Both the amplification and the ability to capture a good amount of bass, produces an intimate recording, has lots of warmth and will aid the reduction of echo around the speaker.
As well as a good microphone, it is worth investing in some headphones for when you record. You may have noticed on Zoom occasionally you will get an echo as your microphone picks up the audio from other people’s speakers and plays it back to you. Wearing headphones will combat this issue entirely. Also you will be more likely to notice any small sounds or echos that you potentially wouldn’t pick up on when listening through your laptop speakers, meaning you can identify and eliminate these before you spend hours recording.
Watch out for little sounds you or your guest may accidentally make
These sounds are often difficult to notice when recording as they are produced by automatic movements that we don’t necessarily think about, but when you listen back, they can ruin a great record. This is particularly something to look out for when using lapel mics, whilst talking someone may use their hands to emote or have heavy jewellery on, which will increase movement around the mic and will be picked up. These sounds will be very difficult to eliminate in the post-production edit.
Desktop microphone stands are another culprit for creating problematic noise, as you may accidentally hit or nudge the desk when trying to drive home an important point, resulting in the mic jumping. To solve this, it can be good to use a stand that is not placed directly onto a desk to ensure there is no possibility of sound being transferred from the desk to the microphone. Also, when holding a mic it can sometimes pick up hand noises as you are changing your grip or expressing yourself, which will again be very difficult to edit around, so be sure to keep your hands as still as possible if you are using hand-held mics.